
Overview
This documentation is about how to migrate from the good old version of our editor to the new CDN based version. There are only a few things you need to change. We will go through these steps in this documentation.
Probably you used one of the following API endpoints:
- api.edmdesigner.com
- api-virginia.edmdesigner.com
- api-ireland.edmdesigner.com
- api-sydney.edmdesigner.com
Instead of the above, you will need to use the following endpoints:
- api-a.edmdesigner.com
- api-b.edmdesigner.com
- api-c.edmdesigner.com
The best thing to do is to build-in a fail over mechanism into your API calls, so if the call at the first endpoint was not successful, then you retry the call with the second endpoint and if that fails you retry with the third.
Besides that, we started to host all of our static content on Amazon S3, so we can accelerate it with Amazon’s CDN (Cloudfront).
This basically means that the JS API will be found at api-static.edmdesigner.com/EDMdesignerAPI.js instead of the api endpoints. Also, when you open the editor, the src of it should also point to api-static.edmdesigner.com
Please continue reading for the details in a step-by-step fashion.
Javascript API
<!-- Previously you had to include the JS API like this: -->
<script src="http://api.edmdesigner.com/EDMdesignerAPI.js?route=token.php"></script>
<script>
    initEDMdesignerPlugin("YOUR_USER_ID", function(edmDesignerApi) {
        //in the old version you added the route to the query string
    });
</script>
There are a few differences between initializing the new js api and the previous version.
<!-- And this is the new way to use it: -->
<script src="http://api-static.edmdesigner.com/EDMdesignerAPI.js"></script>
<script>
    initEDMdesignerPlugin("token.php", "templater", function(edmDesignerApi) {
        //in the new version you call the init function with the route as the first param
    });
</script>
The previous version is here:
http(s)://api.edmdesigner.com/EDMdesignerAPI.js?route=testRoute.xyz
The new version can be found here:
http(s)://api-static.edmdesigner.com/EDMdesignerAPI.js
Again, api-static is pointing to Amazon’s CDN, so it is very fast from all over the world.
As you can see the main difference is that in the old version you had to send a route variable in the query string. That is the route where your part of the token generation can be found, we print it into the js on the server side.
In the new version, you don’t have to send anything in the query param. Instead of that, you have to give the route as the first parameter of the init function. The new version of this js also has failover functionality built-in. As you can see at the very beginning of the script, it uses three different endpoints, as mentioned previously:
- api-a.edmdesigner.com
- api-b.edmdesigner.com
- api-c.edmdesigner.com
Editor iframe src
<!-- The old way -->
<iframe src="https://api.edmdesigner.com/?user=YOUR_USER_ID&projectId=YOUR_PROJECT_ID&token=YOUR_TOKEN&language=en&autosave=1000"></iframe>

<!-- The new way -->
<iframe src="https://api-static.edmdesigner.com/?user=YOUR_USER_ID&projectId=YOUR_PROJECT_ID&token=YOUR_TOKEN&language=en&autosave=1000"></iframe>
The src of the editor’s iframe also should point to api-static.edmdesigner.com, so if you build the src manuall, then please read the corresponding documentation. The new CDN based version of the editor also has built-in failover. (Also, the src of the iframe also should point to api-static.edmdesigner.com)
If you use the openProject function of the JS API, then the src what you get will be correct automatically.
Token generation
<!-- Please switch to the php tab! -->
<?php
if ($_POST["userId"]) {
    $publicId = "YOUR_DEV_API_KEY";
    $magic = "YOUR_MAGIC_WORD";

    $ip = $_SERVER["REMOTE_ADDR"];
    $timestamp = time();

    $hash = md5($publicId . $ip . $timestamp . $magic);

    $url = "http://api-a.edmdesigner.com/api/token"; //previously it was one of the following values:
    //api.edmdesigner.com
    //api-virginia.edmdesigner.com
    //api-ireland.edmdesigner.com
    //api-sydney.edmdesigner.com

    //The new available values are:
    //api-a.edmdesigner.com
    //api-b.edmdesigner.com
    //api-c.edmdesigner.com
    //YOU SHOULD IMPLEMENT FAILOVER MECHANISM BETWEEN THE NEW ENDPOINTS IN PRODUCTION!

    $data = array(
        "id"    => $publicId,
        "uid"   => $_POST["userId"],
        "ip"    => $ip,
        "ts"    => $timestamp,
        "hash"  => $hash
    );

    // use key 'http' even if you send the request to https://...
    $options = array(
        "http" => array(
            "header"  => "Content-type: application/x-www-form-urlencoded\r\n",
            "method"  => "POST",
            "content" => http_build_query($data),
        ),
    );

    $context  = stream_context_create($options);
    $result = file_get_contents($url, false, $context);

    print($result);
}
?>
You have to change your endpoints everywhere you make API calls from your server side. There is at least one point on your server side where you make an API call, and this point is the token generation, since it’s a must-have to implement. Here, the only difference is the same, you have to use the new API endpoints instead of the old ones, just like it was described previously.
Basic skinning
Unfortunately the Basic Skinning on our dashboard won’t be working with the CDN based editor.
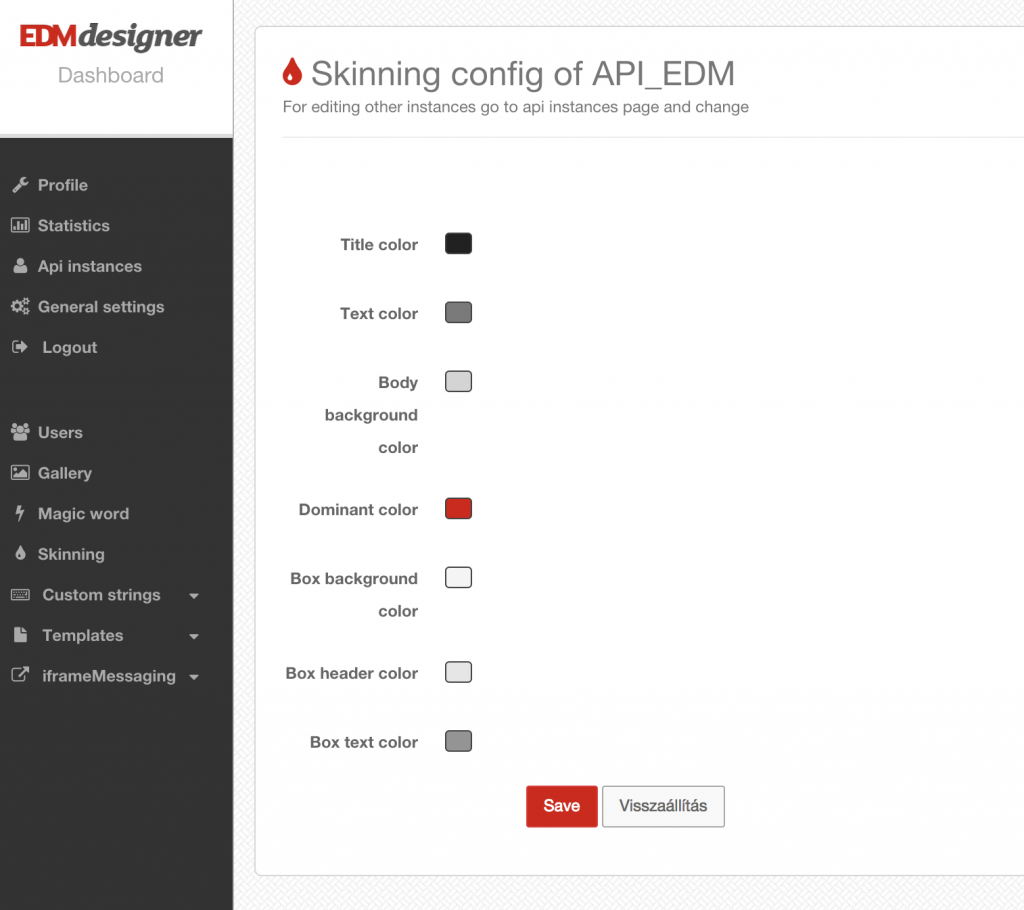
We are planning to reintroduce this feature a little bit differently. You will be able to pick from predefined - and well tested - colorsets and you will be able to pick different layouts for the editor as well.
Tutorials
| Tutorial | Description |
|---|---|
| The Basics | In this tutorial you will learn about our dashboard, the access token generation and the very basic functionalities, like creating and opening projects. |
| Admin Functionalities | The biggest take away of this tutorial that you will see how to create new users in our system, so you will be able to associate one user for each of users in your system. |
| Old Built-in Gallery Configuration | In this tutorial you will learn about how to set up the gallery properly, how to implement the hooks on your side and you will also learn about the security of these hooks. |
Other documentations
| Document | Description |
|---|---|
| Basics | This documentation covers the very basics of the integration, like:
|
| Advanced | This documentation covers more advanced topics. Probably you will only need some of these functionalities.
|
| postMessage API | By reading this documentation you can learn about how to manipulate the editor itself from the client side. Basically this client side API is based on the postMessage function with which you can send messages between frames from different domains.
|
| Element descriptors | A detailed description of our element types used in projects and favorite elements. We generate all of our outputs based on these JSON descriptors. |
| Old built-in gallery | Don’t use it. Use the new postMessage based solution. |
| Migrating to the CDN based editor | In this article you will learn about how to migrate from the good old version of the editor to the superfast and robust CDN based version. |
Example implementations
Our PHP examples are very well maintained, but the others are probably not up-to-date. Still, they can be a good starting point, but you might want to take a look at the PHP examples as well in the meanwhile.
- PHP example
- PHP admin example
- Node.js example
- Cold Fusion example - Thank you Tom Chiverton from Extravision! :)
- Django example - Thank you Ferenc Vehmann from ZenHeads! :)
If you have another example implementation, please let us know, we will fork it and will put a link here.